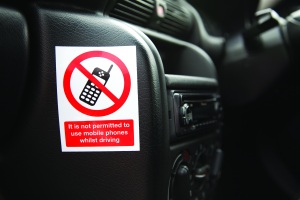
This article is dedicated to the different application methods used for applying/installing self adhesive vinyl signs and window graphics. Many of our safety signs come with a self adhesive vinyl option making
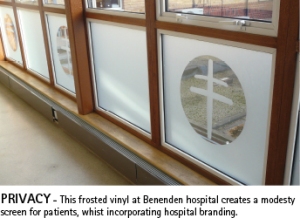
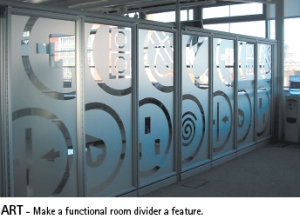
them very versatile and easy to install. We also offer a range of frosted vinyl window graphics in both standard and custom-made designs. Glass Highlighting can also help you comply with Regulation 14 of the Workplace (Health, Safety and Welfare) Regulations 1992. The Regulation requires the marking of windows and glass doors to make them conspicuous.
How to apply your vinyl signs and graphics
Before applying any self adhesive graphics make sure that the application surface is clean and free from contaminants. To apply your self adhesive graphics, use one of the following methods:
For Small Sizes (up to approximately 20 x 20cm)
1. You will need a squeegee. ( a small rigid plastic card designed for sign applicating, if you can’t get one, a small professional window cleaning one will do, or even an old credit card)
2. Remove the backing paper from the face material.
3. Position the sticker/sign on the surface and press in place with finger tips.
4. Apply the sticker to the surface with squeegee, using overlapping strokes. Puncture any air bubbles with a needle and press in place.
For Medium Sizes
1. You will need a squeegee (see above).
2. Remove 3-5cm of the backing paper from one edge of the sticker and fold back.
3. Position the sticker to the surface and press the exposed adhesive area in place with finger tips.
4. Apply the sticker to the surface with squeegee, using overlapping strokes, removing the backing paper little by little with the other hand puncture any air bubbles with a needle and press in place.
Wet application method for large sizes
1. You will need a squeegee (see above), sponge or cloth, water plus a little liquid detergent (i.e. washing up liquid), agitated to produce foam bubbles.
2. Temperature of the application surface and in the workshop should be 15°C or above.
3. Wet the application surface entirely with foam bubbles.
4. Remove the backing paper, keeping the sticker flat.
5. Apply the sticker to the wet surface and bring into position.
6. Remove any excess foam bubbles from underneath the sticker with a squeegee, using light pressure in overlapping strokes, working from the centre. Dry the sticker with a cloth.
7. Secure the sticker to the surface with a squeegee, using overlapping strokes and firm pressure, paying particular attention to the edges, to ensure a firm bond.
8. When possible, check and re-squeegee firmly after 24 hours.
*note – With this application method ultimate adhesion of the sticker/sign is reached later than with a dry method. The sticker/sign will obtain ultimate adhesion about 24-48 hours after application.


